When the Roof Underlayment Causes Moisture Problems – How to Fix Them

When the Roof Underlayment Causes Moisture Problems – How to Fix Them
A healthy roof means a healthy home. But even a well-built roof can develop issues if the underlayment beneath the shingles doesn’t perform as it should. Moisture trapped under the roof can lead to mold, rot, and structural damage. The good news is that with the right knowledge, you can identify, fix, and prevent these problems before they become serious. Here’s a guide to understanding and solving moisture issues caused by roof underlayment.
What Is Roof Underlayment – and Why Does It Matter?
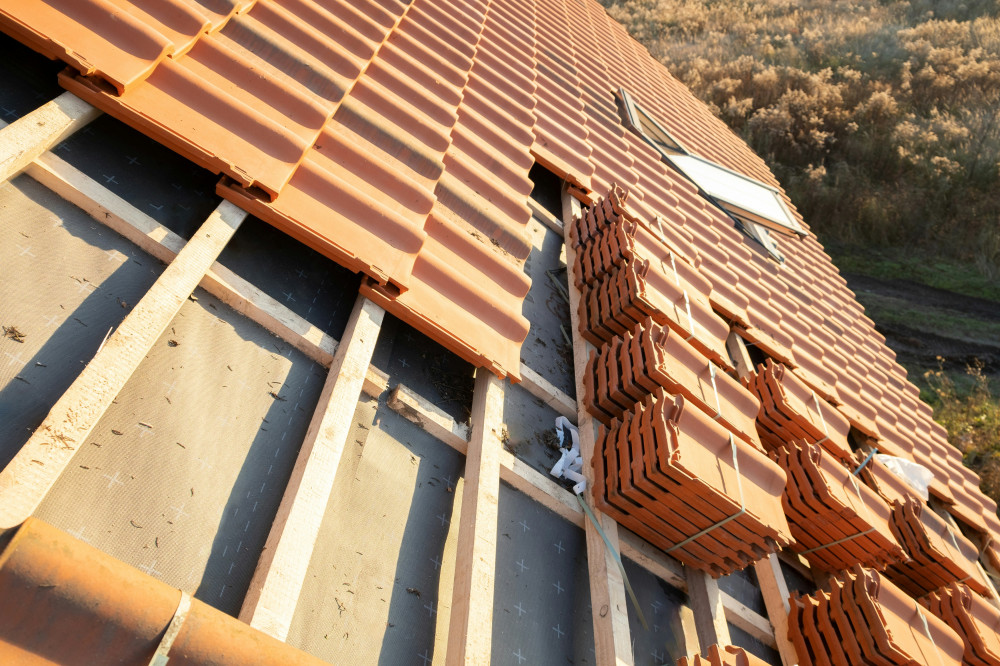
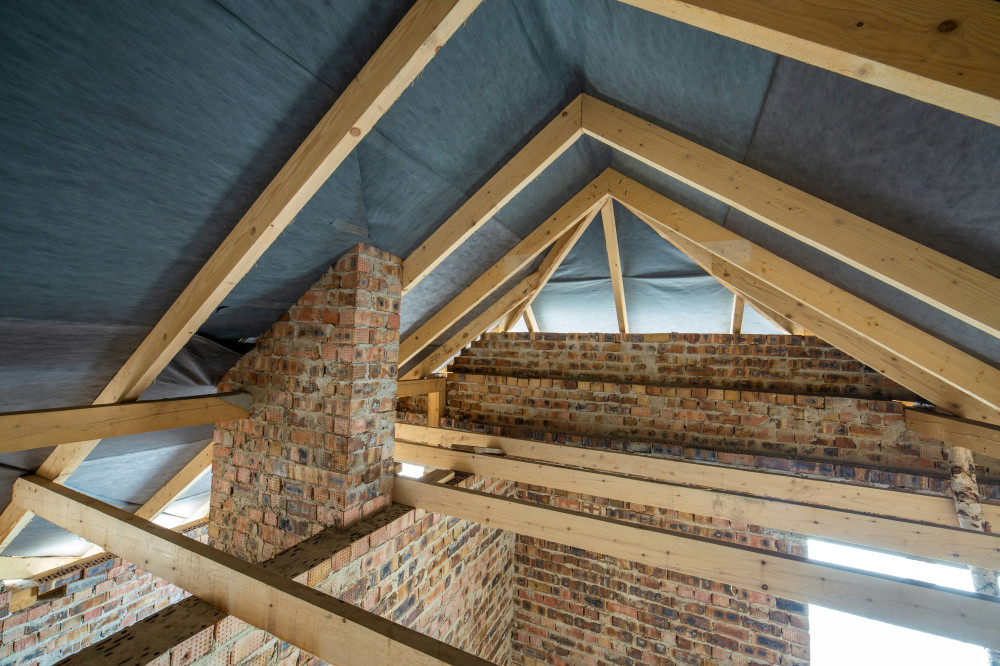
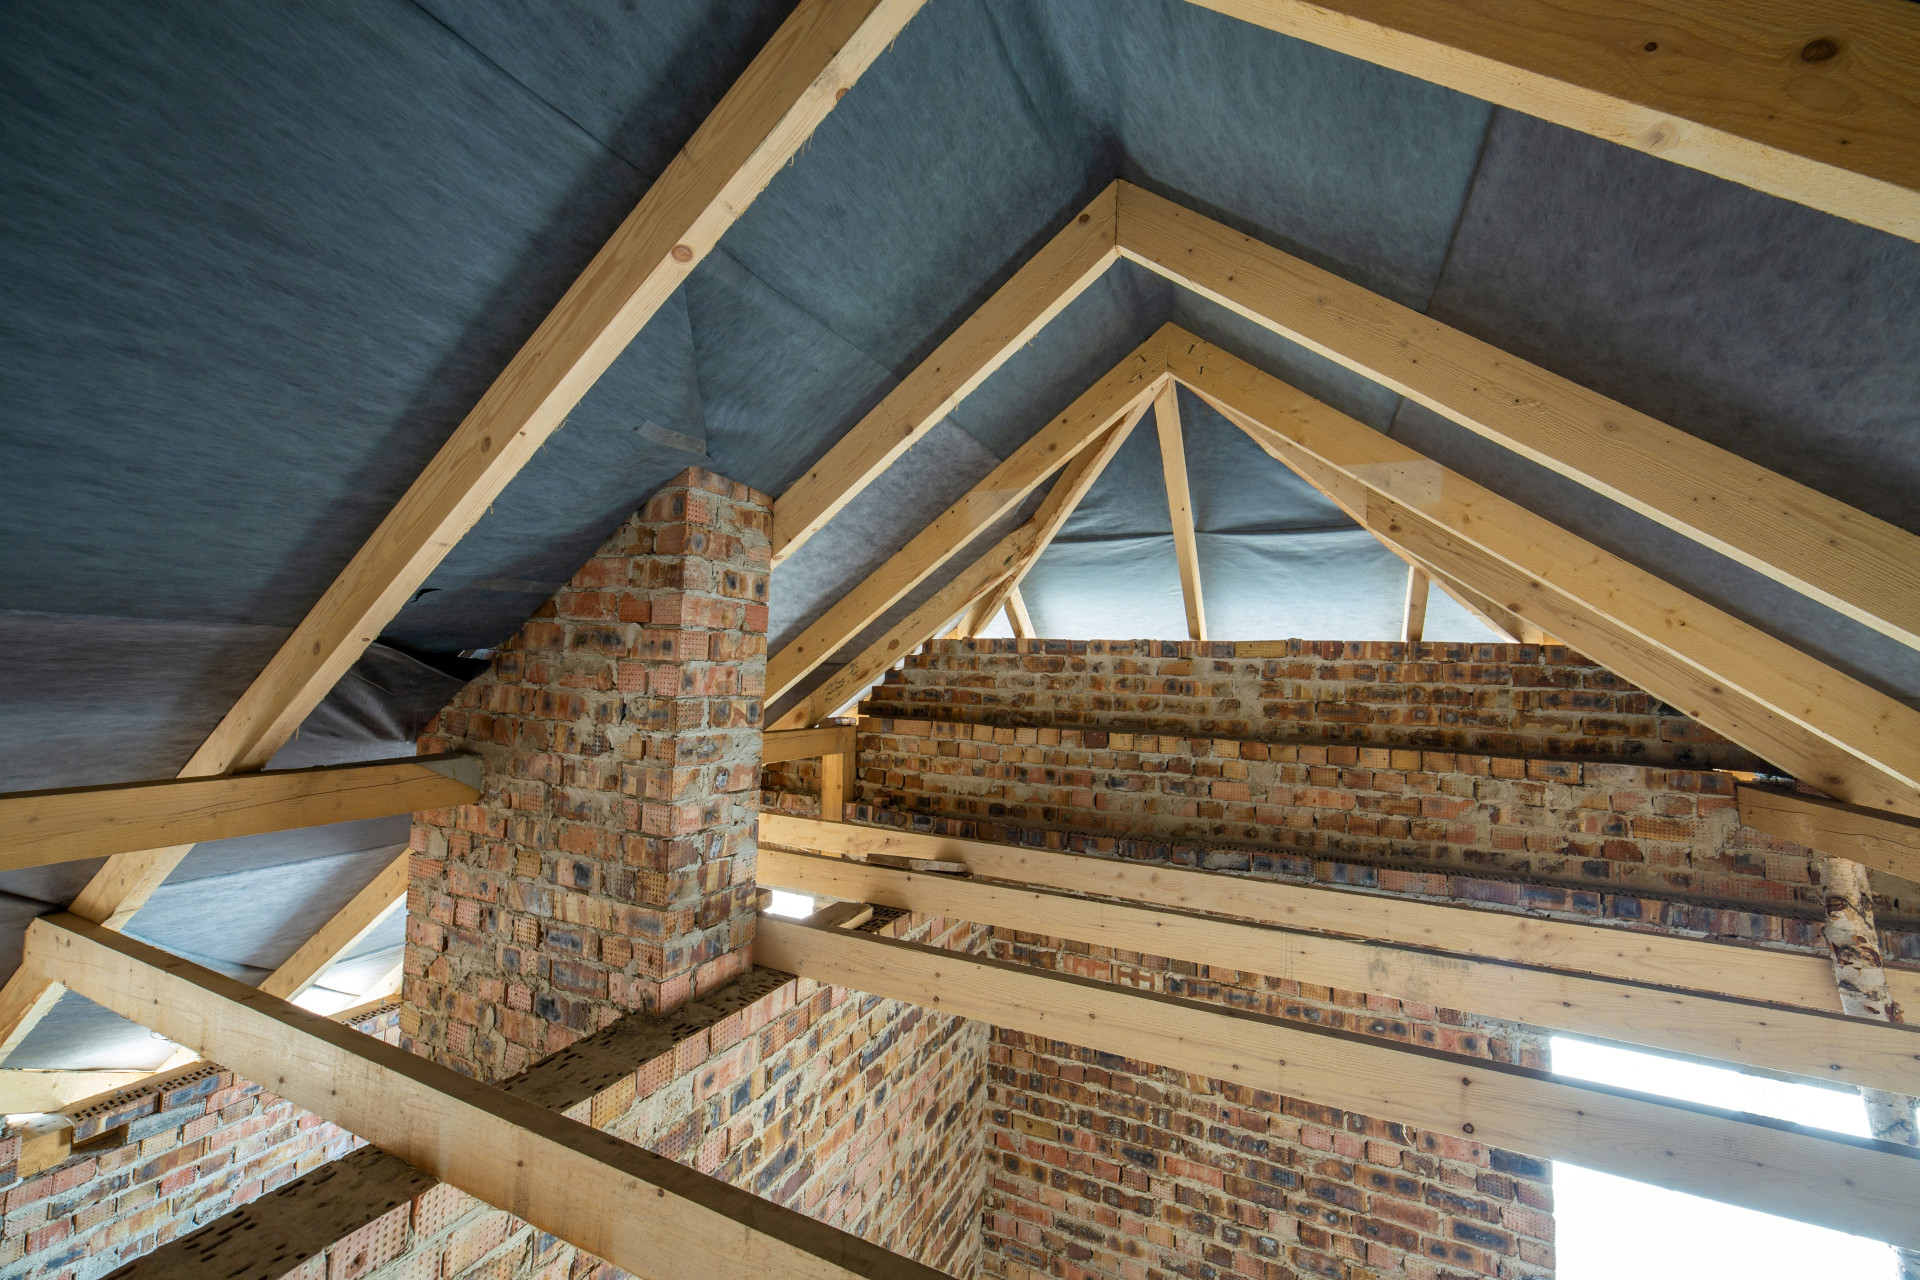
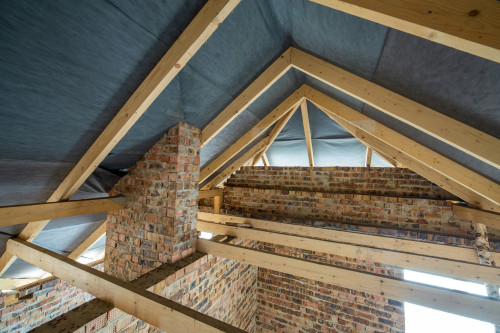
Roof underlayment is the protective layer installed between the roof deck (usually plywood or OSB) and the outer roofing material, such as asphalt shingles, metal panels, or tiles. Its job is to act as a secondary barrier against water infiltration from rain, snow, or wind-driven moisture.
A good underlayment should be water-resistant from the outside while allowing moisture from inside the attic to escape. When this balance is disrupted—by poor ventilation, improper installation, or damage—moisture can accumulate, leading to costly problems.
Common Signs of Moisture Problems
Moisture issues often develop slowly, but early detection can save you from major repairs. Watch for these warning signs:
- Dark stains or discoloration on the underside of the roof deck or attic rafters.
- Musty or moldy odors in the attic.
- Condensation droplets on the underlayment or roof sheathing.
- Peeling paint or ceiling bubbles inside the home.
- Visible mold growth on wood framing or insulation.
If you notice any of these symptoms, act quickly—moisture problems rarely resolve on their own.
The Most Common Causes
Several factors can cause or worsen moisture buildup under the roof. The most frequent include:
- Poor attic ventilation – Without proper airflow, warm, humid air gets trapped and condenses on cooler surfaces.
- Leaks in the underlayment – Tears, punctures, or improperly sealed seams can let rainwater in.
- Indoor humidity escaping upward – If the vapor barrier or ceiling air sealing is inadequate, moisture from bathrooms, kitchens, or living spaces can migrate into the attic.
- Installation errors – Incorrect overlaps, missing flashing, or underlayment installed too tightly against insulation can all lead to trapped moisture.
Often, it’s a combination of these factors that creates the problem.
How to Fix the Problem
The right solution depends on how severe the moisture damage is. Here are the key steps to take:
1. Identify the Source
Start with a thorough attic inspection. Use a moisture meter to check the roof deck and rafters. Pay special attention to valleys, vents, and penetrations around chimneys or skylights. If you’re unsure, a roofing contractor or home inspector can help pinpoint the cause.
2. Improve Ventilation
Proper ventilation is one of the most effective ways to prevent and fix moisture issues. Make sure air can flow freely from the soffit vents up to the ridge vent. If your home lacks adequate ventilation, consider adding ridge vents, gable vents, or powered attic fans.
3. Check the Vapor Barrier and Air Sealing
Warm, moist air from inside the home can rise into the attic through gaps around light fixtures, ducts, or attic hatches. Seal these openings with caulk or foam, and ensure that bathroom and kitchen exhaust fans vent directly outdoors—not into the attic.
4. Repair or Replace the Underlayment
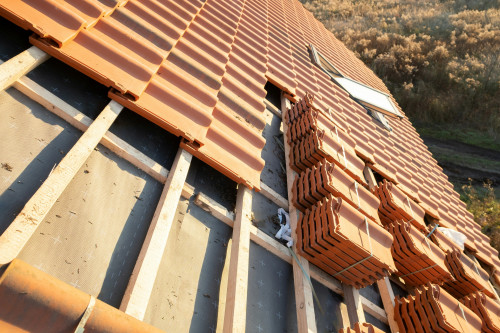
If the underlayment is torn, brittle, or improperly installed, it may need repair or replacement. Small holes can sometimes be patched, but widespread damage usually requires removing shingles and installing new underlayment. If your roof is nearing the end of its lifespan, a full replacement may be the most cost-effective solution.
5. Remove Mold and Dry the Structure
If mold is present, clean it carefully using appropriate cleaning agents or hire a professional remediation service. Once cleaned, use fans or dehumidifiers to thoroughly dry the attic before closing it up again. Severely damaged wood may need to be replaced.
Preventing Future Moisture Problems
Once the issue is resolved, prevention is key. Here’s how to keep your roof system dry and healthy:
- Keep vents clear of insulation, debris, or bird nests.
- Inspect your roof annually for missing shingles, flashing damage, or underlayment exposure.
- Maintain balanced insulation – too much insulation without ventilation can trap moisture.
- Monitor attic humidity with a hygrometer or moisture meter a few times a year.
- Ensure exhaust fans are properly vented to the outside.
A little maintenance goes a long way toward avoiding expensive roof repairs later.
When to Call a Professional
If you’ve improved ventilation and sealed leaks but still notice persistent dampness, or if you see signs of wood rot, it’s time to call a roofing professional. They can assess whether the underlayment or roof deck needs partial or full replacement.
While professional help may seem costly, it’s often far cheaper than repairing structural damage caused by prolonged moisture exposure.
Læs også:
A Dry Roof Means a Healthy Home
A properly functioning underlayment is easy to overlook—until it fails. By staying alert to early warning signs, maintaining good ventilation, and addressing moisture promptly, you can protect your roof, your home, and your investment. A dry roof isn’t just a matter of comfort—it’s the foundation of a safe, durable, and energy-efficient home.
Læs også: